Sunday, March 29, 2009

Faces

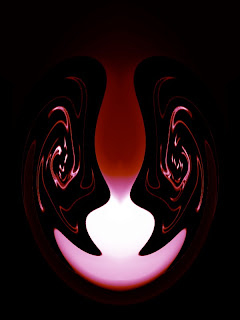
This tutorial is very simple, yet has great results, all that is used is the filter polar co-ordinates. The final image looks like this.


To create this piece you first need a new document, make it 600 x 800, RGB color, and have a black background. Get out the white brush and draw a couple of random doodles. It should look like something this.
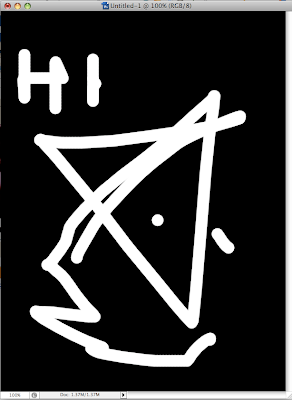


Next we are going to use the polar coordinates filter.
Go to filter ->
Distort -> Polar Coordinates....

If at first your image doesn't look right (it shouldn't so don't worry), use this filter a couple of more times (press ctrl+f) to this a couple of times until you end up with something similar to this.
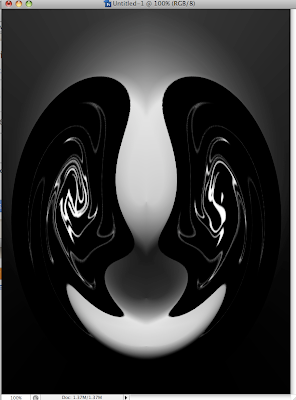


This should happen after about 5 times, you will notice that there are a number of different versions that can be done, I chose this one for no particular reason.


To color this you have to go to
image->
Adjustments-> color balance...
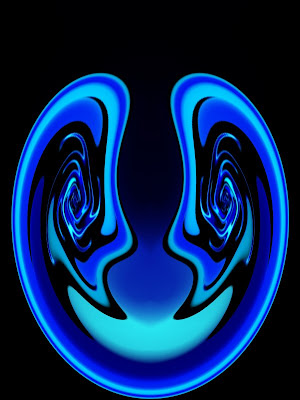
Drag the color scales to whatever you want.

The final image created was this.
Friday, March 27, 2009

Flash Blog Header P.2

This is part 2 of how I made the header for my flash blog site you can see the first one here.


This part is not the logo but the main header, for this I used a number of techniques including twirl. I am going to create a new version so as to go through it step by step with you.

1- Again we are going to create a new file. Make the background black again and choose RGB as the color mode. I chose a size of 600 width by 128 height (height).


2- Choose the white brush and draw some lines from top to bottom. Mine were done like this...

3- Now this is where the magic happens. Again we are going to use the distort tab from filters, use a different number of filters. The ones I chose were.
  • wave
  • twirl
  • pinch
These were the only ones I chose and still ended up with a very interesting graphic. Each and every person's should be different. I got this.

4- Color's. If you read the first post this next bit should be easy and you can get straight to experimenting with colors. If not either click here to read it, or go to
->image
->Adjustments -> color balance...
Drag the scale left or right and remeber to change the highlights and shadows.
***This can only be done in RBG color mode***

My final picture looked like this, completely different to what the other one was like.